This recipe walks you through the steps to make a chewy, flavorful, well-balanced pizza crust for tasty, homemade New York style pizza.
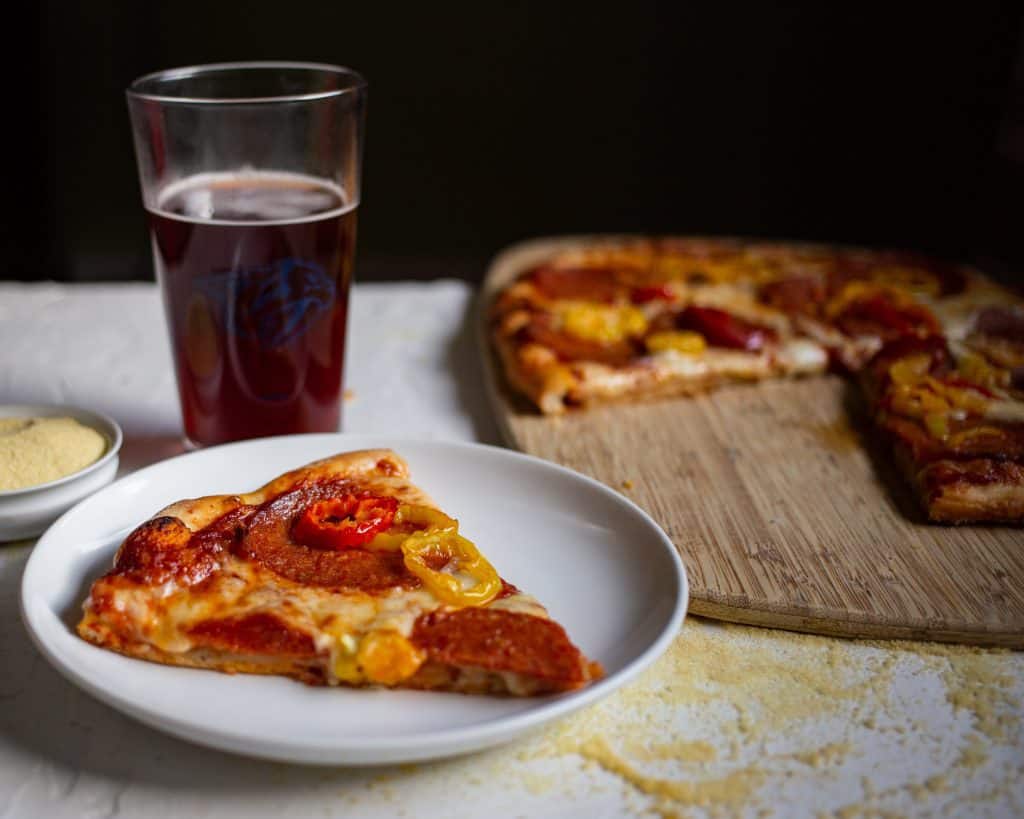
The best pizza I ever had was from a small nondescript restaurant in Manhattan. My husband and I were in New York City for a friend’s wedding just south in New Jersey. It was our first trip out of Nashville since moving back to the US from China and we added on a day in Manhattan to do a lot of touristy things – walking through Central Park, visiting MOMA, and eating New York style pizza.
The pizzeria was recommended by a friend who lived in New York City. Walking in, I didn’t expect much, but it turned out to be so good. The pizza was a hybrid between thin crust and hand tossed. A chewy thick edge and a thin interior that was the perfect balance of hand-tossed and thin crust pizza. Not crunchy and flavorless like thin crust pizza at many pizza chains and not too doughy like many hand-tossed pizzas.
I’ve never been able to recreate that New York-style pizza at home until now. I tried all types of pizza dough – prebaked crusts, refrigerated store-bought dough, bread machine dough, and hand kneaded dough, but none ever turned out with the right taste and texture as this dough. I stumbled on the recipe from America’s Test Kitchen when my husband bought me a subscription to their Online Cooking School for my birthday. America’s Test Kitchen is one of my favorite cooking websites – I love their science-based approach to cooking.
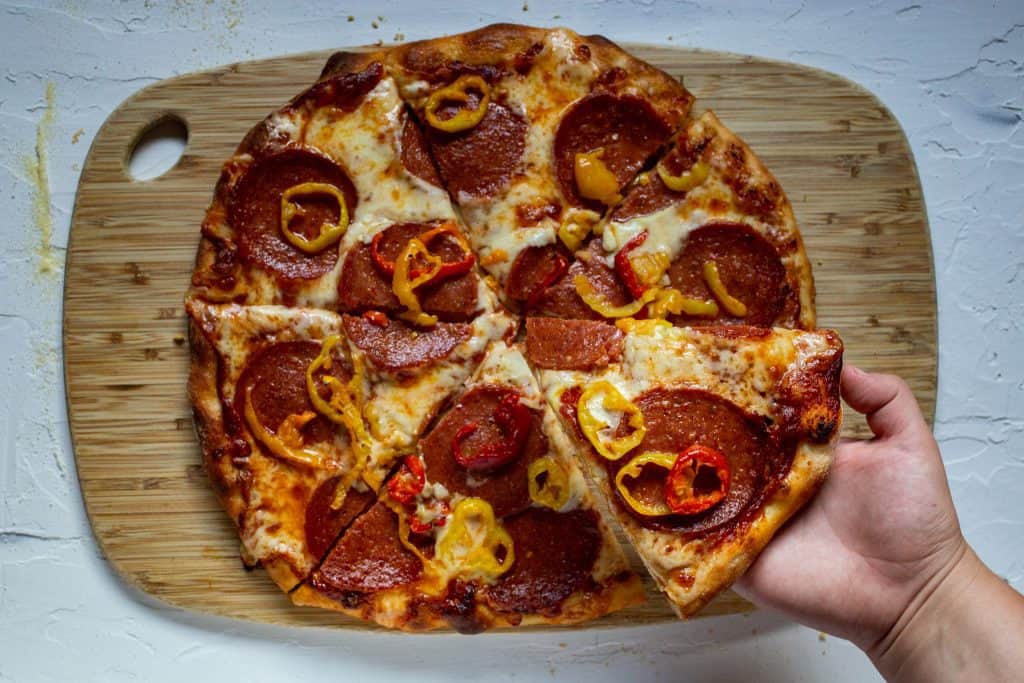 For this homemade New York Style pizza crust, I use the basic ingredients that the original ATK recipe called for, but have adjusted the steps a bit to make this without a food processor. We now make this crust at home at least once a month, switching up the sauce and toppings from time to time. My husband’s favorite combination is marinara sauce as the base with pepperoni and banana peppers, while I prefer a barbecue sauce base with pineapple on top.
Helpful Equipment & Ingredients
This section contains affiliate links. See my disclosure policy here.
This recipe requires some specialized equipment that I did not have in my kitchen. While I don’t often buy kitchen equipment with a single purpose, the tools to successfully make pizza at home aren’t that expensive and the recipe is so good that it’s more than paid for itself with how many times my family has made this pizza at home instead of eating out or ordering in. Here’s what you’ll need:
– Baking Stone – this is essential to get the crust crispy. There are a lot of different kinds – I love the versatility of this large rectangular one.
– Pizza Peel – essential for getting the pizza into and out of the oven.
– Semolina Flour – helps make the pizza come off the pizza peel more easily without getting the crust too floury. You can use all purpose flour instead, I’ve found that the semolina flour works even better.
How to Make Homemade New York Style Pizza
To make this pizza crust, you’ll have to plan ahead and mix together the ingredients about 24 hours (or up to 3 days) before you plan on eating it. You’ll start by mixing together the flour, yeast, sugar, and water in a large bowl with a fork. Then allow the mixture to sit for about ten minutes. After the resting period, add the salt and vegetable oil, mix together with your hands and then knead on an oiled baking sheet or counter for 1 to 2 minutes until the dough is smooth and elastic. Then shape into a ball, place in a greased bowl, cover with plastic wrap and refrigerate for 24 to 72 hours.


Tips and FAQs:
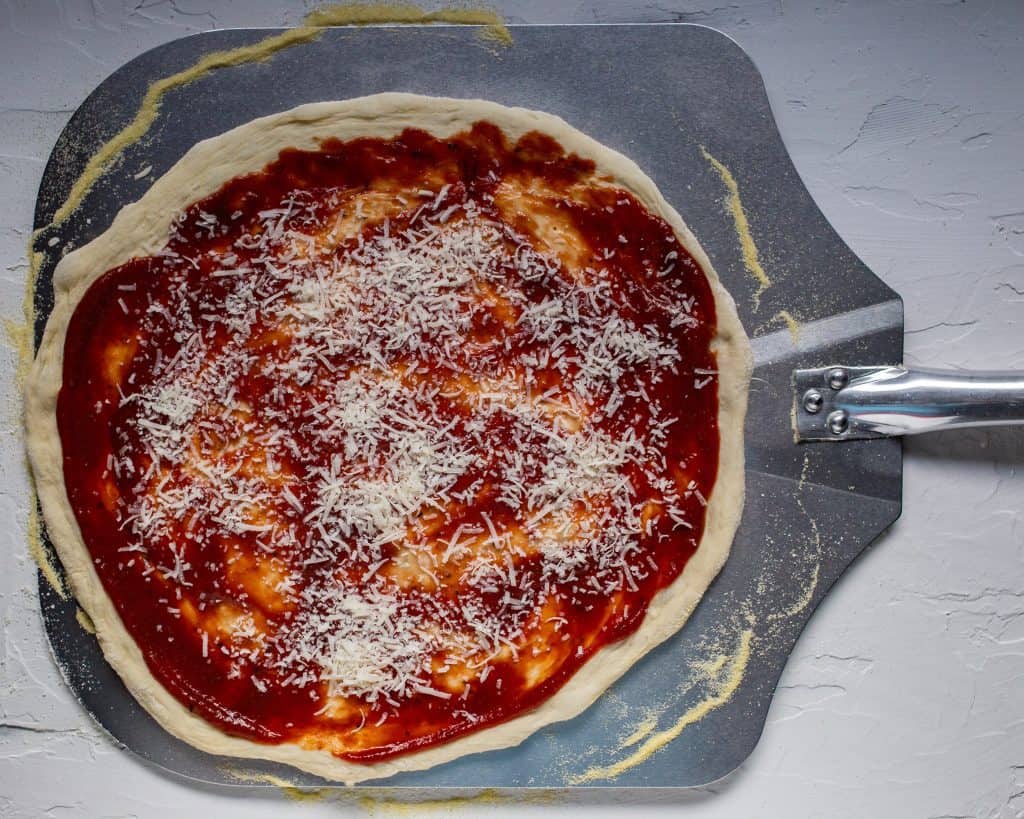
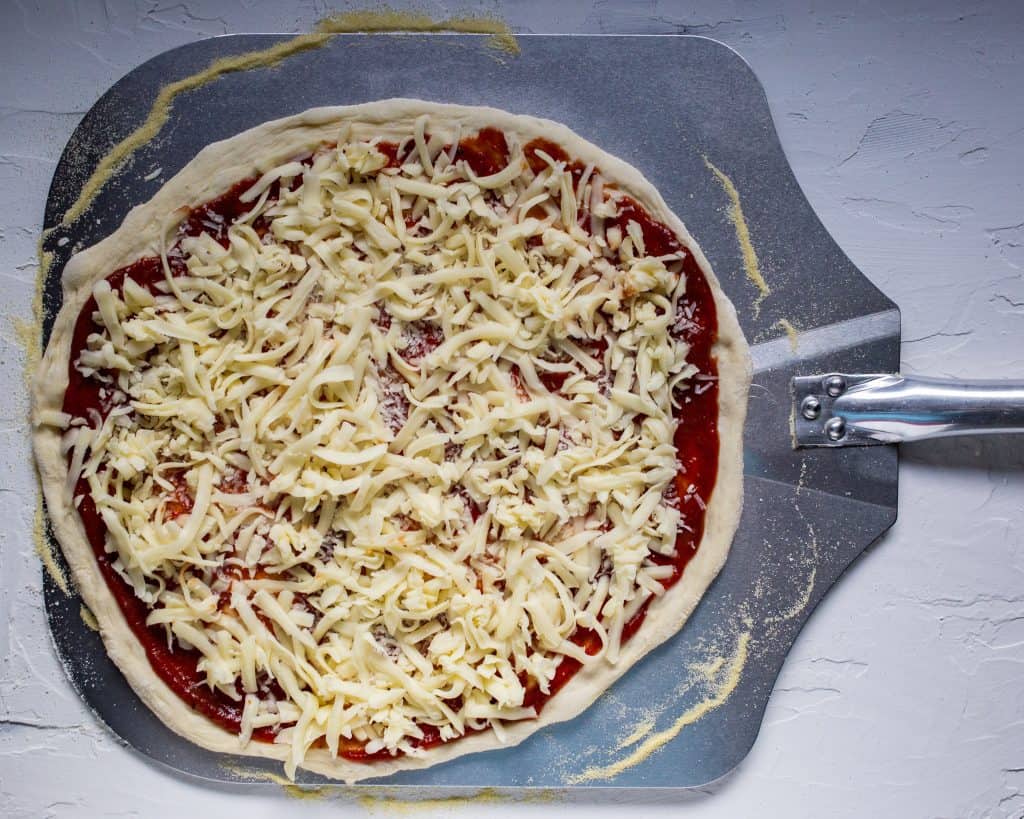
– My favorite cheese combination is parmesan with mozzarella cheese. Put the parmesan under the mozzarella to keep the parmesan from burning.
– If you have semolina flour, use that to flour the pizza peel. It works even better than regular bread or all-purpose flour and doesn’t leave your dough all floury.
Can I substitute all purpose flour for bread flour in the dough?
Bread flour is really ideal in this recipe because of the higher protein content. The protein content helps to produce lots of gluten, which essential for the stretch and elasticity of the bread dough. I’ve never tried the recipe with all-purpose flour – it may work, but the texture won’t be ideal. If you try it, let me know how it worked for you!
Why do you let the dough rest after mixing the flour, sugar, yeast, and water together?
This resting period is called autolyse and it makes the dough easier to work with. There are two enzymes in flour – amylase, and protease. During autolyse the amylase enzymes turn the flour’s starch into sugars that can be consumed by the yeast and the protease enzymes degrade the protein in the flour. The result of these makes the dough more elastic and easier to work with. For more on the science of bread, check out this article from Scientific American.
How do I prevent my toppings from ending up on the bottom of the oven?
If you’re using bigger toppings (think chunks of pineapple chunks or large mushroom slices), you may have an easier time placing the pizza on the stone in the oven using the pizza peel, then pulling out the top rack a bit and carefully dropping your toppings on the pizza when it’s already in the oven (Do this carefully! The oven will be extremely hot). This method has worked for me ever since my first batch when I placed all the toppings on the pizza first, then when I transferred the pizza to the baking stone from the pizza peel, half of my pineapple fell off the pizza and ended up burnt on the bottom of my oven.
My pizza is shaped like a football. How do I keep it round?
Practice and lots of flour on the pizza peel! I’ve made several football-shaped pizzas because the pizza stuck to the pizza peel a bit when transferring to the oven. Now I use even more semolina flour than I think I need and I get more uniformly round pizzas as a result. Whatever shape you end up with, it will still taste great!
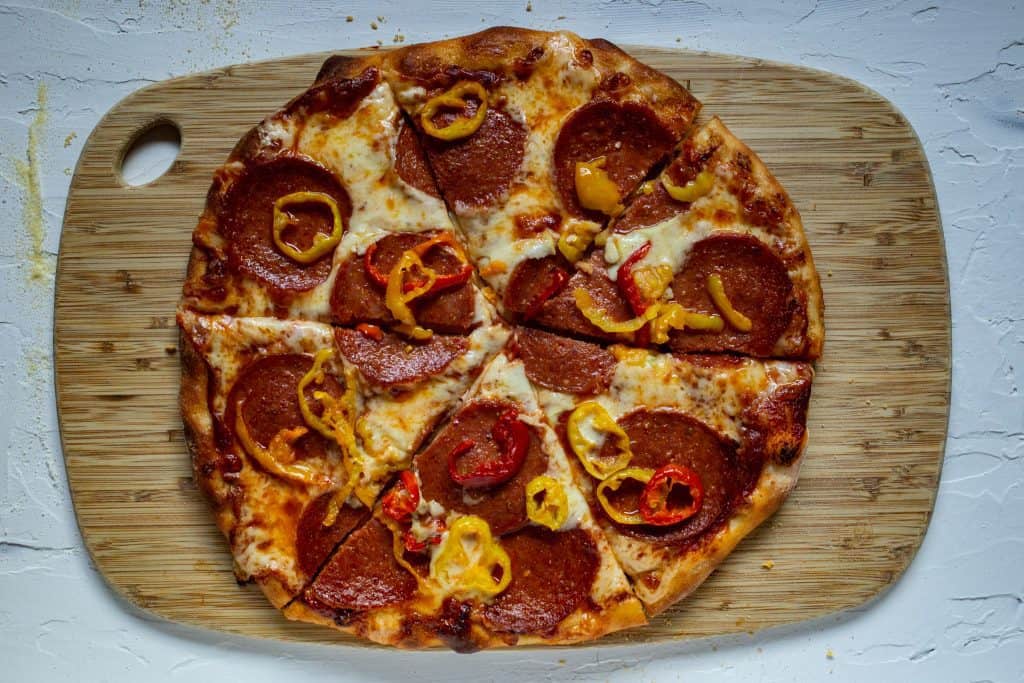
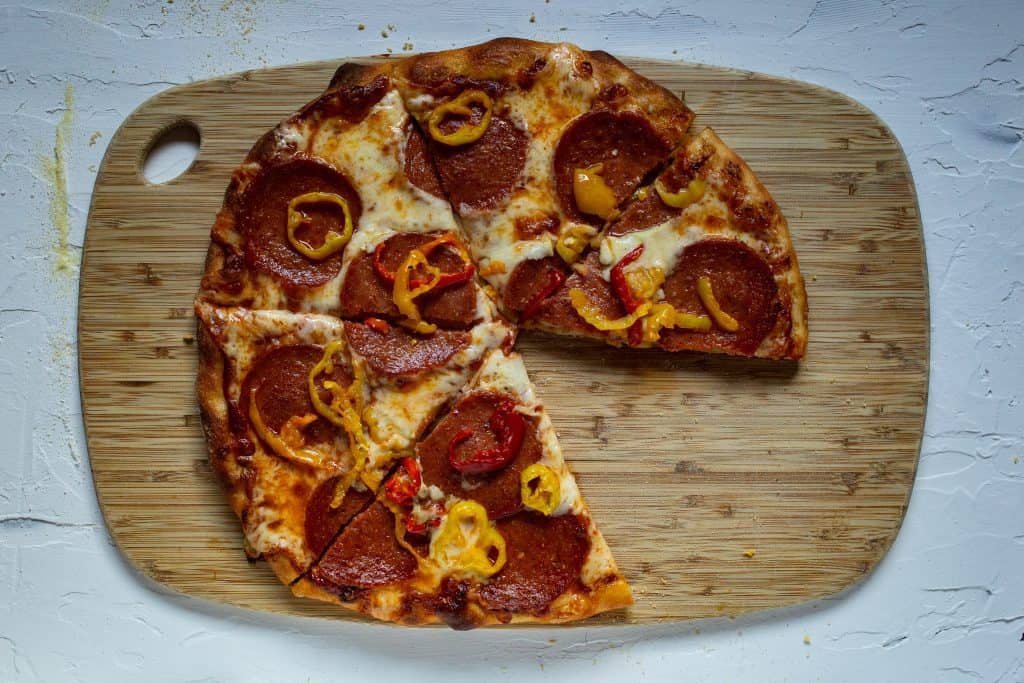
If you try this recipe for Homemade New York Style Pizza, leave a review and comment below to let me know how it worked out for you!
Homemade New York Style Pizza
Ingredients
- 3 cups bread flour
- 1/2 teaspoon instant yeast
- 2 tablespoons sugar
- 1 1/3 cups very cold water
- 2 tablespoons vegetable oil divided
- 1 1/2 teaspoons salt
- semolina flour (or substitute bread flour)
- pizza sauce
- 1/4 cup Parmesan cheese grated
- 2 cups mozzarella cheese grated
- toppings of choice
Instructions
- Start by adding 3 cups bread flour, sugar, and the yeast to a large bowl. Combine with a fork, then gradually drizzle the ice water into the bowl. Mix gently with a fork until there's no more dry flour.
- Set the dough aside for 10 minutes. This autolyse rest period improves the bonds between starch, gluten, and water, creating a better dough in the end.
- Add in the salt and 1 tablespoon oil and mix with your hands until just combined. Then place the dough on an oiled plate or baking sheet using the remaining vegetable oil, knead for 1 to 2 minutes until stretchy, and shape into a ball. Place the ball in a bowl sprayed with cooking spray, cover the bowl with plastic wrap, and refrigerate for 24 to 72 hours.
- An hour before you're ready to bake the pizza, place your baking stone on an oven rack in the second highest position in your oven. Preheat the oven to 500 degrees.
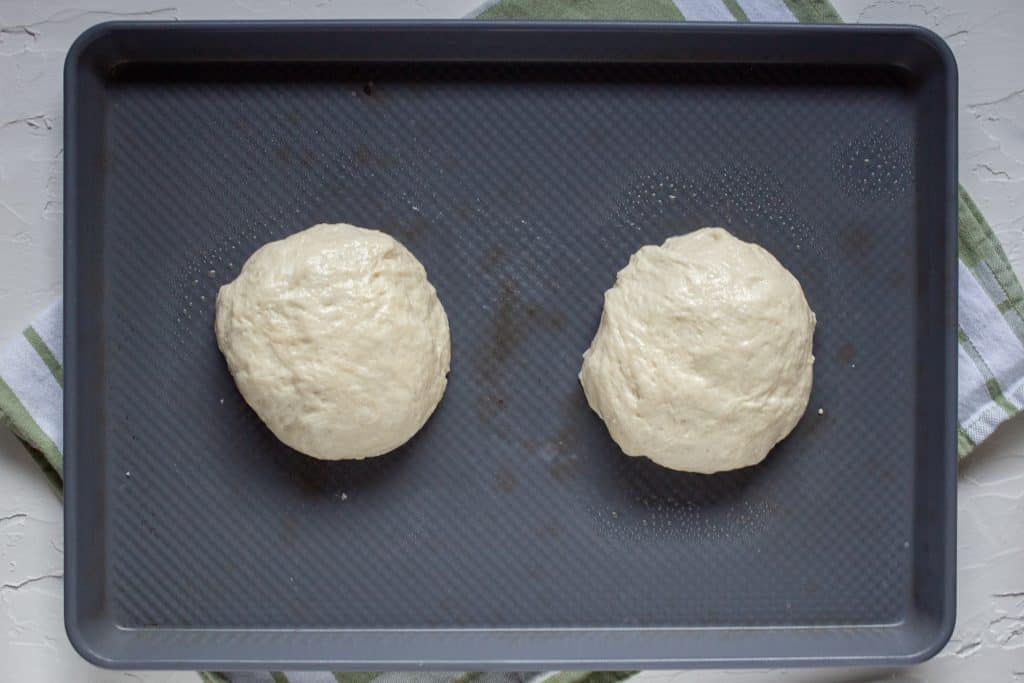
- Remove the dough from the refrigerator and cut in half, shape each half into a ball and place both on a baking sheet sprayed with cooking spray. Spray the balls with cooking spray as well and then cover with plastic wrap and let stand for about an hour while the oven is preheating.
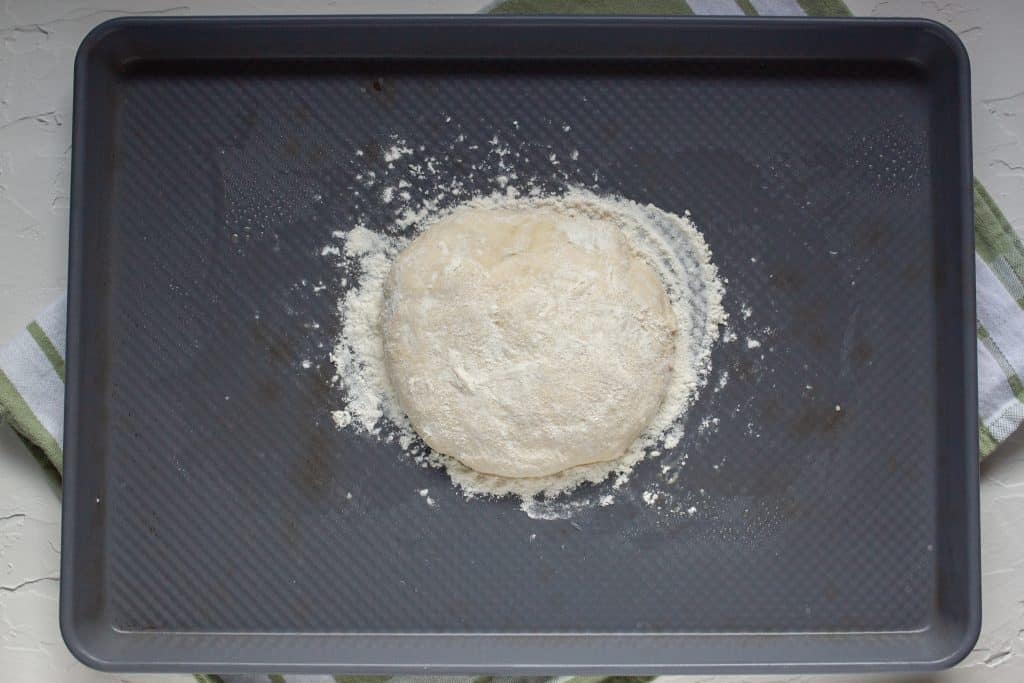
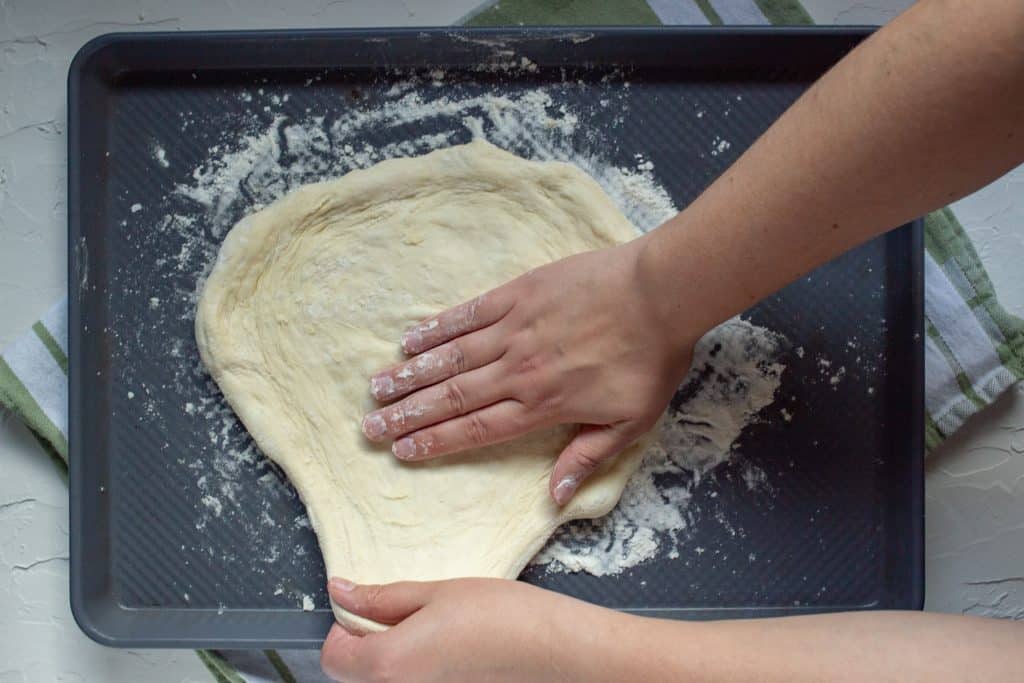
- Then take one of the balls and place on a well floured countertop or baking sheet. Gently flatten into an 8-inch disk using your fingertips. Leave the edges a bit thicker than the middle. Then gently stretch the dough using your hands, until it measures about 12 inches in diameter.
- Add semolina or bread flour to the pizza peel, making sure it's well floured, then place the pizza dough on the peel and stretch a bit more until it's about 13 inches across.
- Add pizza sauce, then Parmesan cheese, and finally the mozzarella cheese. Add any toppings, then slide the pizza carefully onto the pizza stone.
- Bake for 10 to 12 minutes until the cheese is bubbly and golden brown. Add more semolina or flour to the pizza peel. Remove the pizza from the oven with the pizza peel and place on a wire rack for a few minutes before serving.
- Repeat the steps for the second pizza.


I’ve used this recipe many times but never reviewed! Such a great consistency for the pizza and perfect timings for a beautiful crunch! Grazie!! ☺️☺️
Thanks for the review, Cece! Glad you love this recipe as much as I do!
– Danielle
I love pizza! My mouth is watering here just by looking at your photos 🙂
Thanks, Julia. I think I’ll need to make more pizza this weekend…
You just can’t beat homemade pizza, especially when it is homemade New York style pizza. This looks absolutely delicious.
Thanks, Bintu. New York style is definitely one of my favorites!
I love to make homemade pizzas. Your photos make me want to give this recipe a try for sure. I’m laughing because I make a lot of “football” shaped pizzas. I’ll have to remember your tips.
It’s a good thing the football shaped pizzas taste just as good as round ones! Gives my family something to laugh about too 🙂
This looks just like the pizza I grew up with back east! Love, love NY style pizza!
NY style is the best pizza!
wow the flavors in here sound fabulous I could eat this style pizza every day! Its so pretty too!
This looks so good! I never knew that bread flour works better for pizza dough. I’ll have to try that.
My fiance LOVES NY style pizza. He wants to go to NY just for the pizza! I’ll have to give this a try for him!
Nothing like homemade pizza!!! Looks fabulous!!!
New York style pizza is the best! Yours looks absolutely divine!
I love New York style pizzas! Looks so crispy, golden and delicious! Pinning and will definitely try this recipe soon for dinner!